

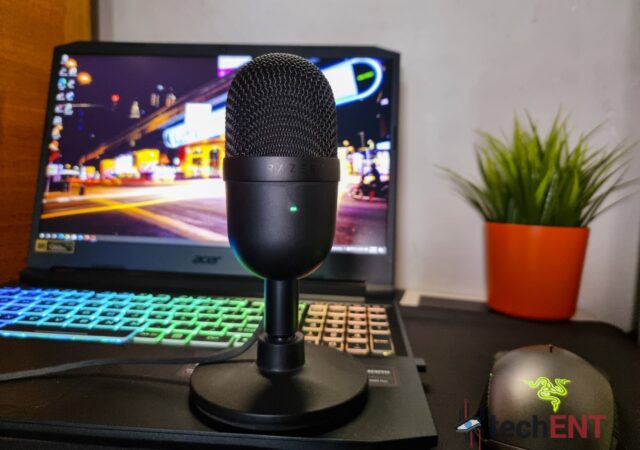
Razer’s Seiren Mini might not look like much. At MYR 249, it is one of the most affordable USB mic of its kind. Is it worth the money though?
Reviews
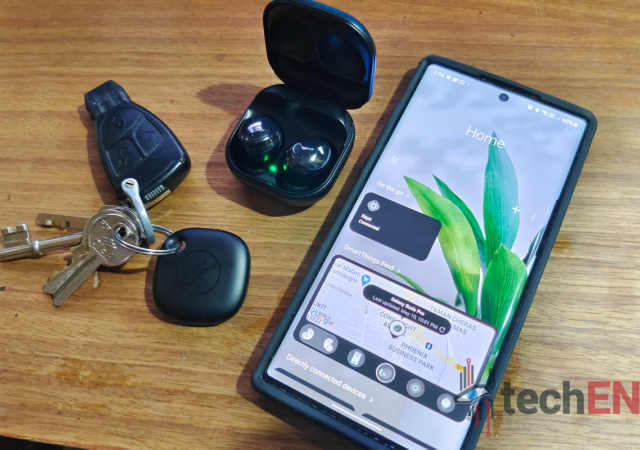
Samsung Galaxy SmartTag & SmartThings Find Review: Keeping Track & Finding Your Galaxy
Samsung’s Galaxy SmartTag and SmartThings platform are a crucial extension of the Galaxy Ecosystem. We find out if the platform is up to scratch!

HUAWEI Vision S 65 In-Depth Review – A Love Hate Experience
HUAWEI has launched the Vision S and we had the chance to get our hands-on with the TV. Here is what we think of HUAWEI’s new 4K UHD TV.
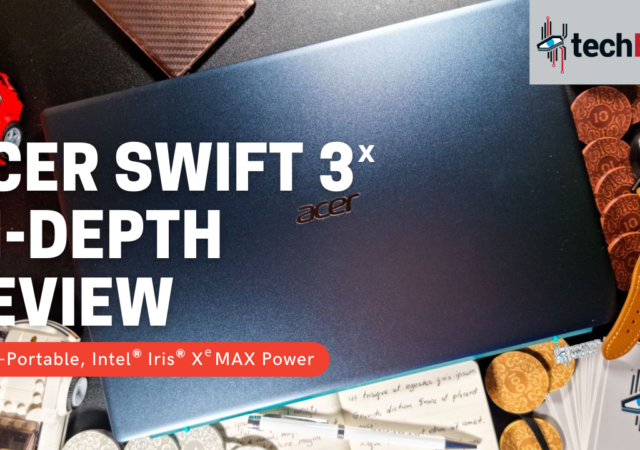
[Video] Acer Swift 3x In-Depth Review – Small Package, MAX Power
We reviewed Acer’s Swift 3x. The ultra-book features Intel’s latest 11th generation Core i7 and Intel Iris Xe MAX discrete GPU at MYR 4,599.
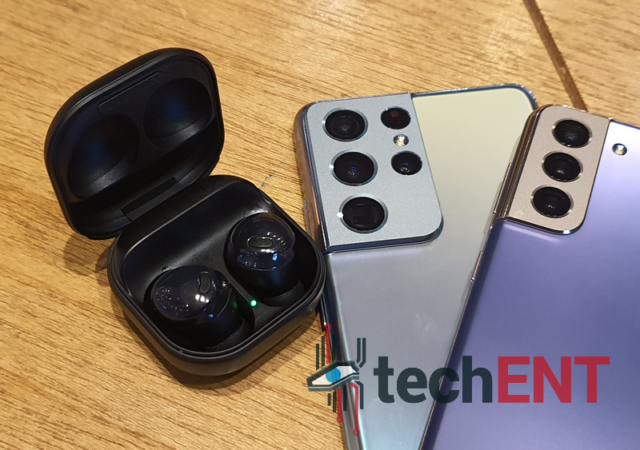
Samsung Galaxy Buds Pro In-Depth Review: Hitting the Right Notes with Room for Improvement
Samsung’s Galaxy Buds Pro is the company’s latest offering when it comes to true wireless earbuds. How does it fair? Find out in our review.

[Video] Samsung Galaxy S21 Review
Samsung’s Galaxy S21 is put through the rigours of the techENT review. How did it perform? Find out in our review video!

The Sony WH-1000XM4 In-Depth Review – It Gets Better
Sony released their WH-1000XM4 over-ear headphone. We got to try the MYR 1,599 headphone for a while and here is what we think of it.
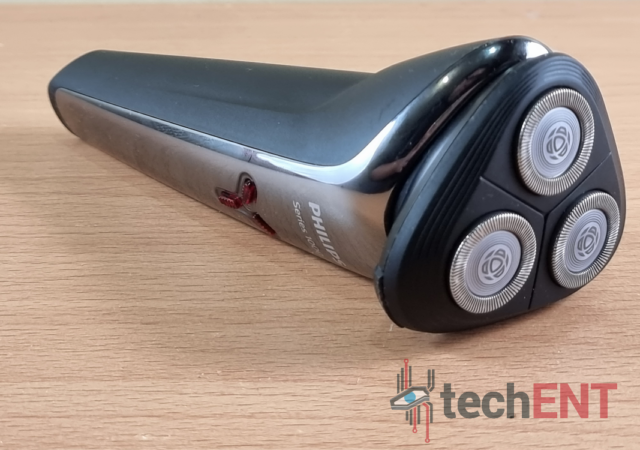
Philips S1301 Shaver Review – A Close Shave
An electric shaver can be a boon to a man’s grooming kit, but is the Philips S1301 worth the money? Find out inside.
The Samsung Galaxy Z Fold2 In-Depth Review – Unfolding New Possibilities
Welcome to the 2004 Nokia 9110 Communicator. This device harks back to a simpler time where mobile phones did not have coloured displays. The green hued colourless displayed was more related to an 8-bit animation console of the time than…
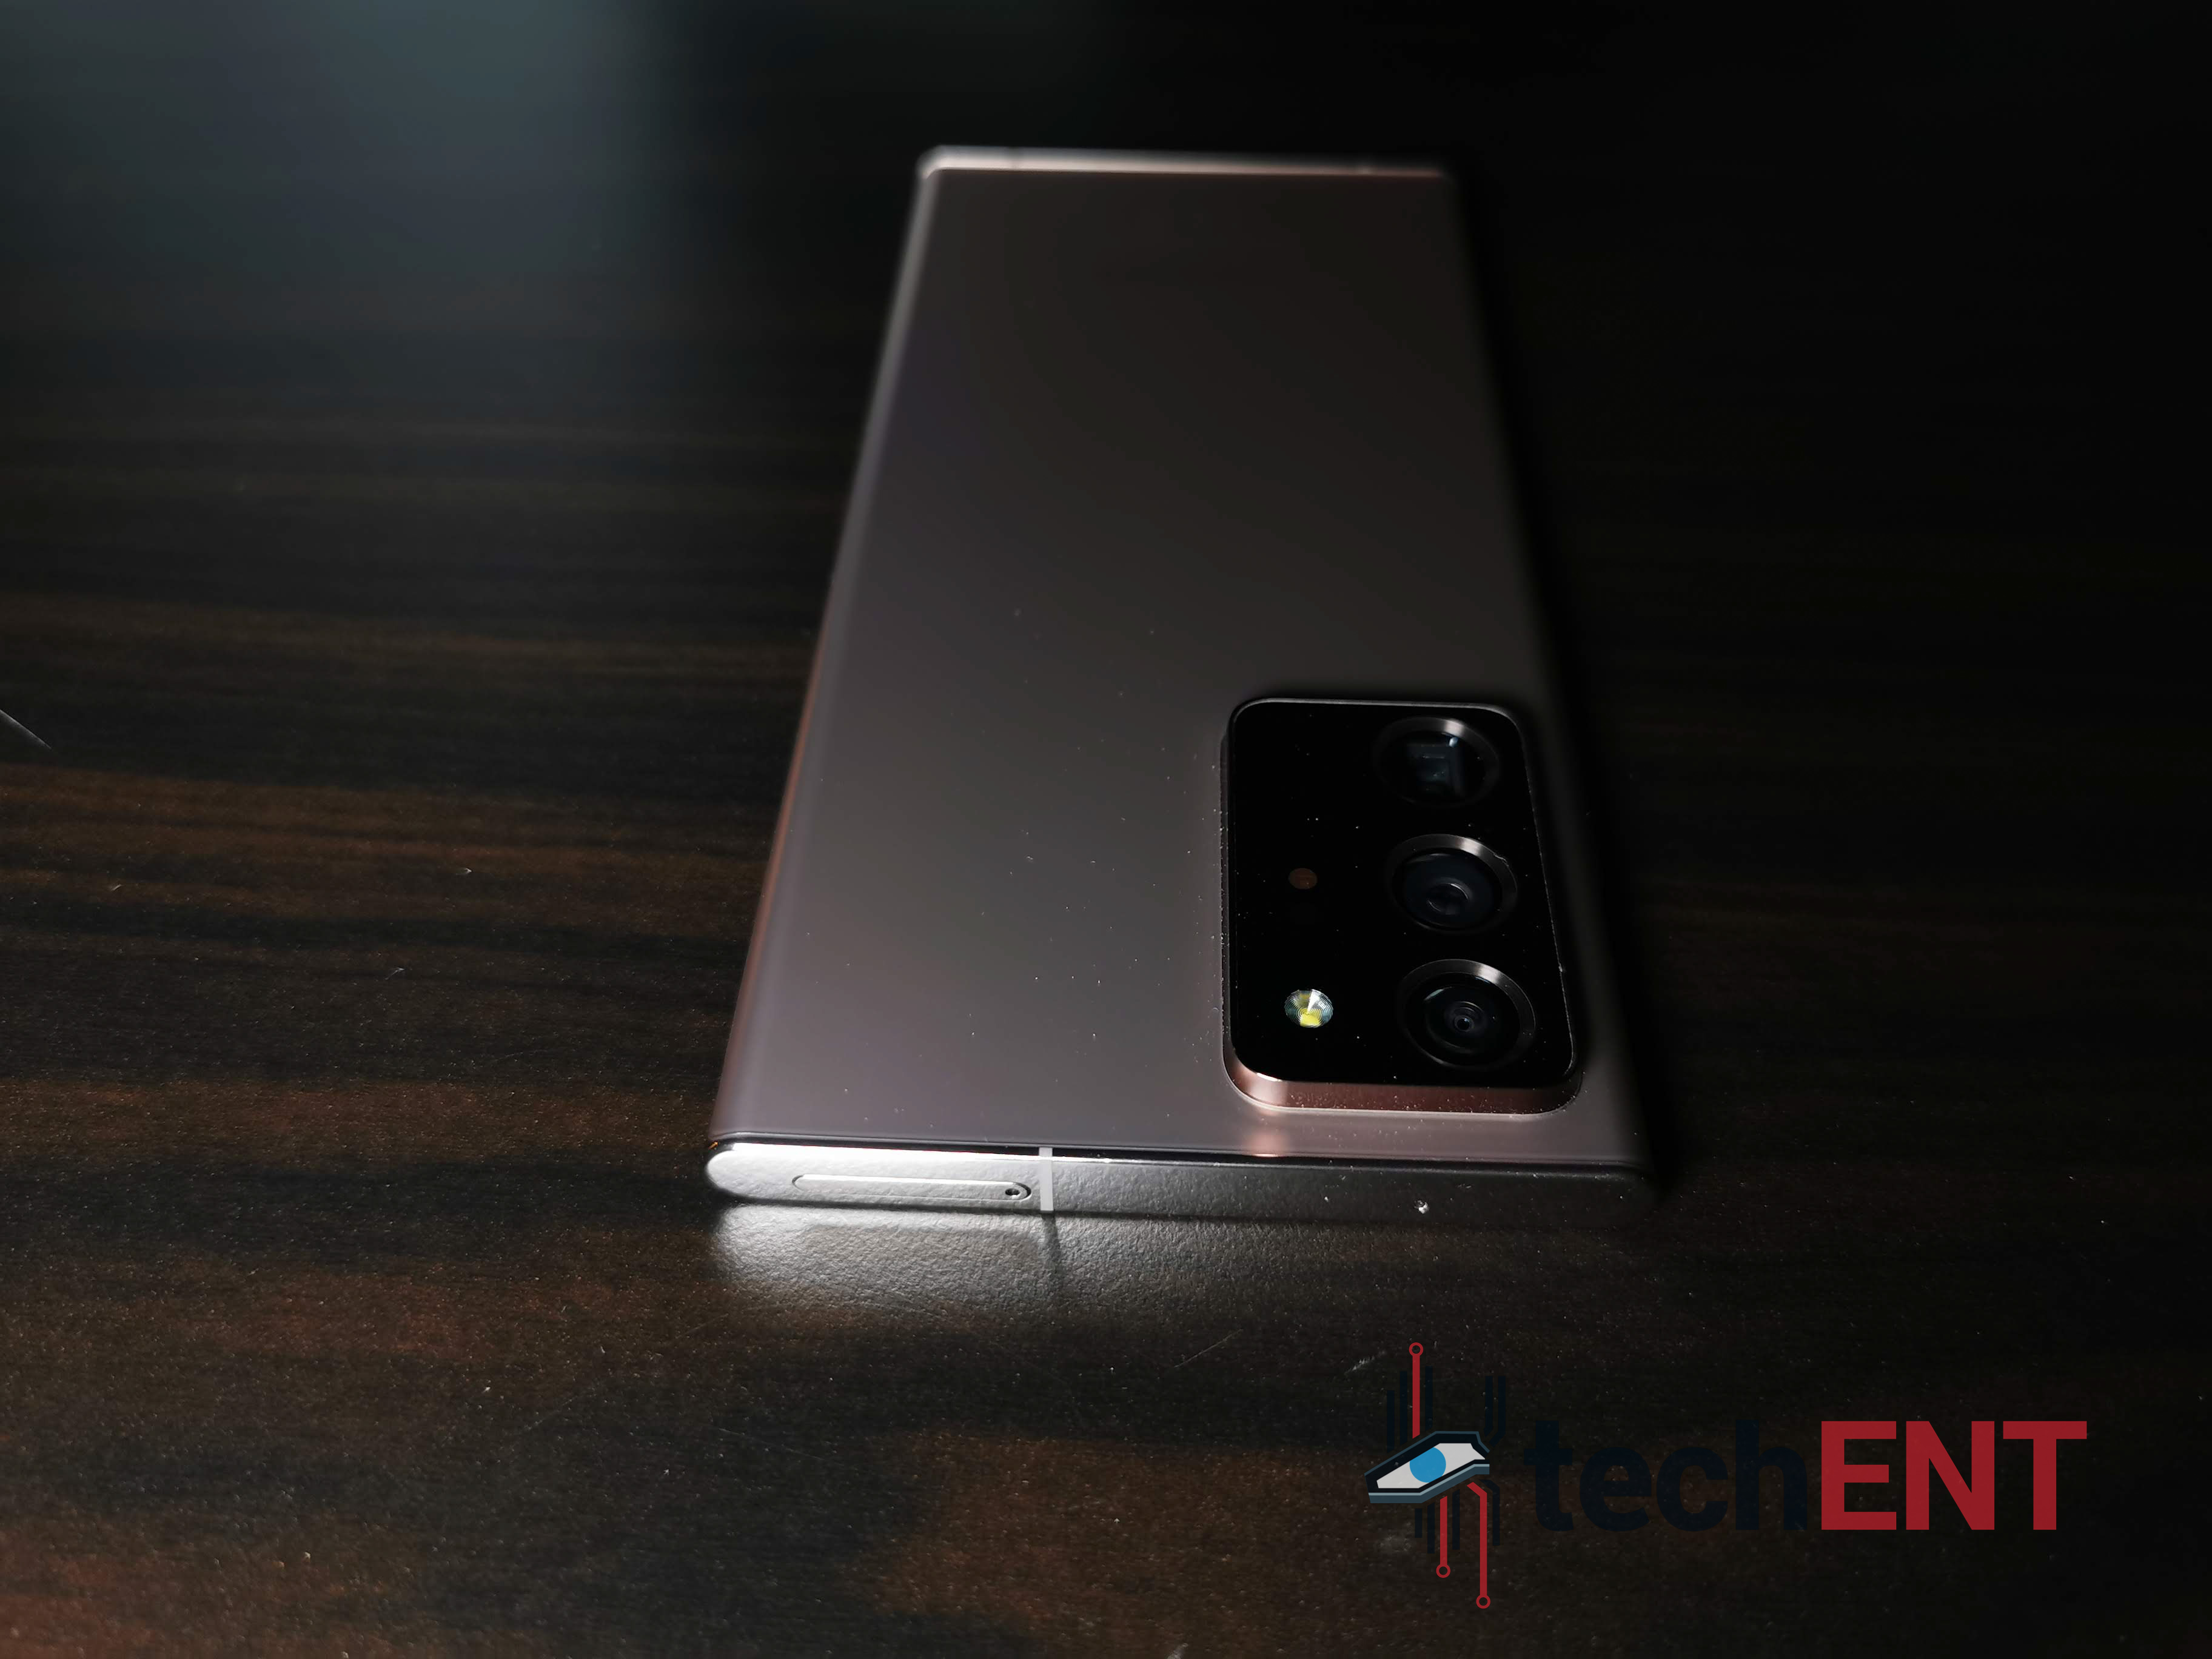
The Samsung Galaxy Note20 Ultra In-Depth Review – The Next Best Thing
The Samsung Galaxy Note20 Ultra is Samsung’s iteration of the ultimate flagship smartphone. Is it worth MYR 5,199 though? We find out.