

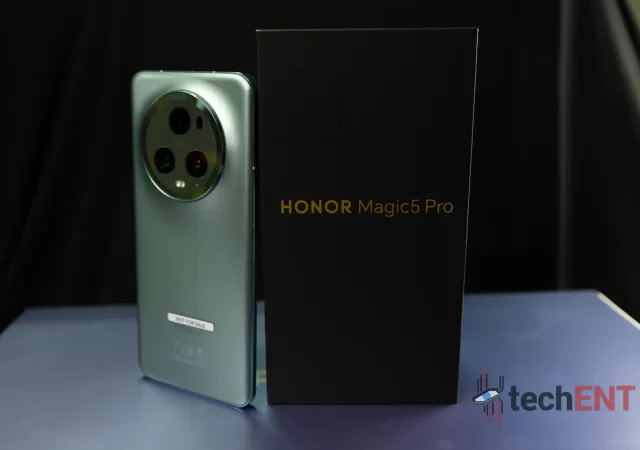
Find out what the Magic5 Pro 5G has to offer in our in-depth review. Honor challenges premium smartphones with its 5G flagship that comes with hardware & software features!
Reviews
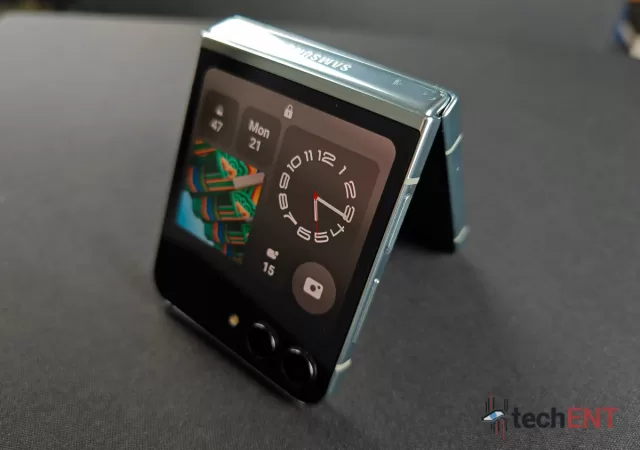
Samsung Galaxy Z Flip5 In-Depth Review: Bigger is Better… But What Else?
Samsung’s Galaxy Z Flip5 gets the in-depth review treatment from techENT to see if it delivers a worthwhile experience for you money.
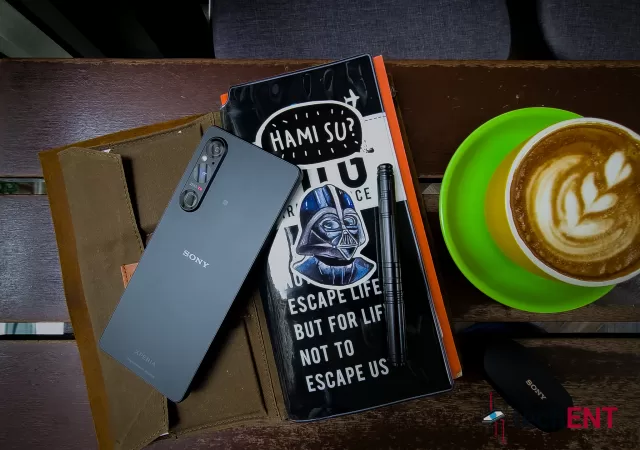
The Sony Xperia 1 V In-Depth Review – Maybe the Best MYR 6,399 You Can Spend
Sony’s Xperia 1 V is a thing of understated beauty to us. We really like it, but we also think that it is not made for everyone.
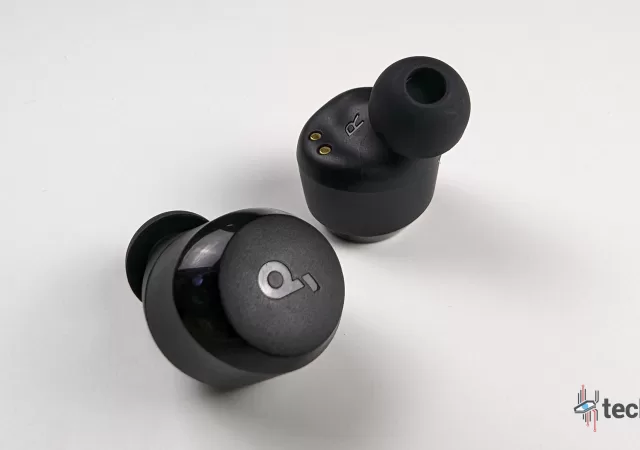
Soundcore A20i In-Depth Review – TWS Essentials Done Right
Anker continues to expand its influence in the earbud market with its latest True Wireless entry in the Soundcore series, the Soundcore A20i. With prices going as low as RM 89 on discount, one could easily doubt the quality of…
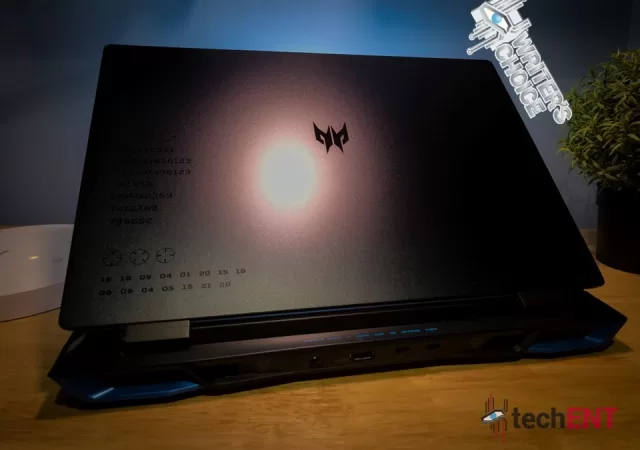
The Predator Helios Neo 16 In-Depth Review – Interstin, Powerful, Quite Heavy
Acer releases the Predator Helios Neo 16. At MYR 4,899 it is the cheapest modern gaming laptop they have currently. It is no slouch though.
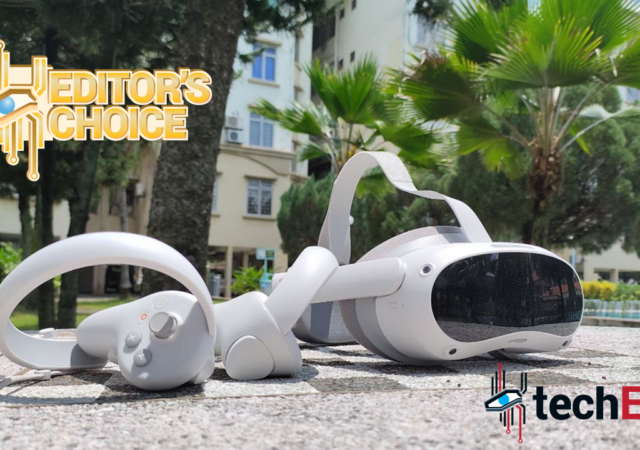
PICO 4 In-Depth Review: Is It Really the Perfect VR Headset?
The PICO 4 is being lauded as the best and most affordable VR Headset available right now. Is it really? Find out in our in-depth review.

Huawei MatePad SE 10.4 In Depth Review – A Valuable Mate
Huawei’s MatePad SE is an affordable, everyday use table that has surprising bang-for-buck, even a year on after its release. With marketing focused on its 10.4-inch display and a “family theatre in your palm”, we found more reasons for it…
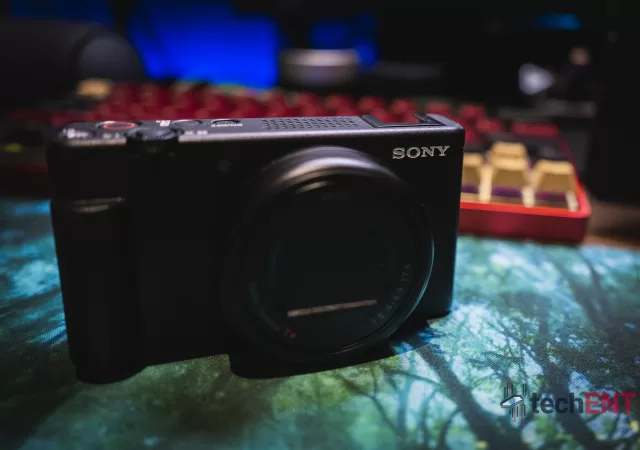
24 Hours with the Sony ZV-1 II – It’s Great, But Not MYR 3,999 Great
Sony released the Sony ZV-1 II not too long ago at MYR 3,999. Its few added features and functions may not justify its asking price though.
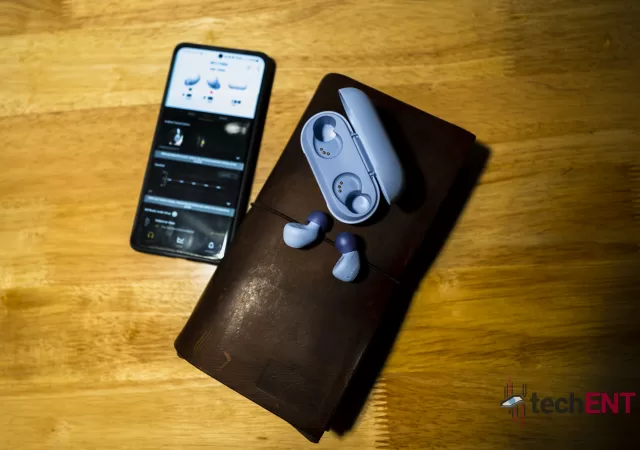
The Sony WF-C700N In-Depth Review – Are You Sure It’s Only MYR 549?
Sony recently announced their WF-C700N noise cancelling earbuds at MYR 549. Are they any good? We think so, and we quite like it.
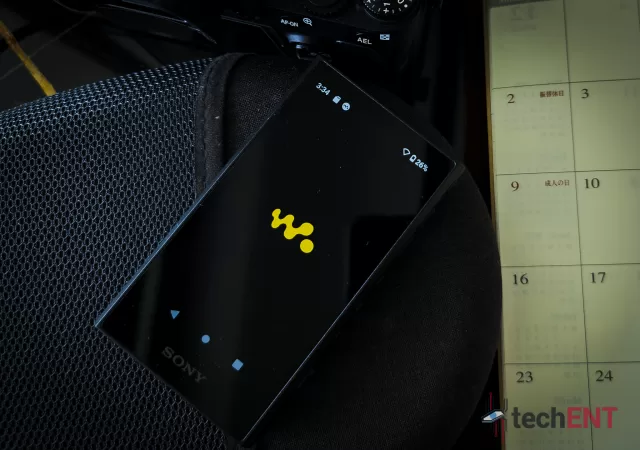
Sony Walkman NW-A306 In-Depth Review – Hi-Res Audio for the Budget Audiophile
Sony Walkman NW-A306 is their latest addition to audiophile quality music for MYR 1,599. Is it still relevant or even worth the asking price?